Python Dummy Day 1 : 開發環境
Table of Contents
Python Dummy 10 Days - This article is part of a series.
如何使用 WSL 在 Windows 上安裝 Linux #
安裝 WSL #
Windows 搜尋 Powershell #
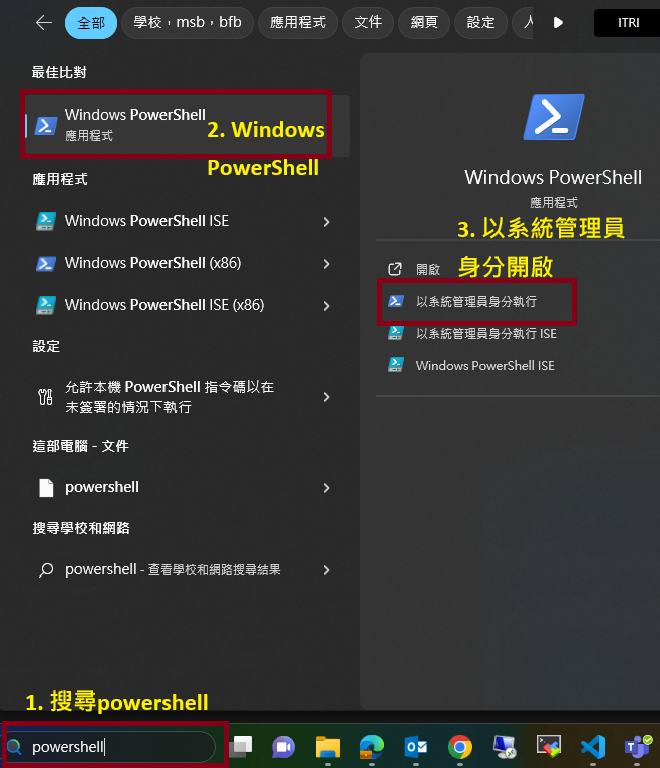
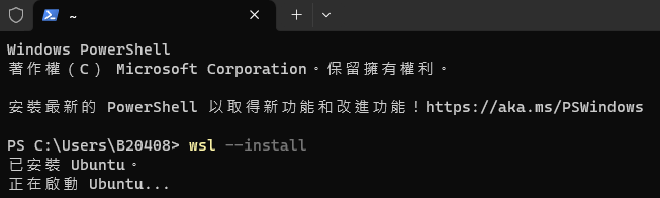
開啟powershell 安裝WSL #
wsl --install
The Ubuntu installation is sometimes blocked by company’s firewall, thus need to manually download from Win APP Store.
Invoke-WebRequest -Uri https://aka.ms/wslubuntu2004 -OutFile Ubuntu.appx -UseBasicParsing
### using curl to download
curl.exe -L -o ubuntu-2004.appx https://aka.ms/wslubuntu2004
### add appx
Add-AppxPackage .\app_name.appx
檢查安裝版本 #
wsl -l -v
Result:
PS C:\Users\B20408> wsl -l -v
  NAME      STATE           VERSION
* Ubuntu    Running         2
使用 VS Code + WSL 開發 Python #
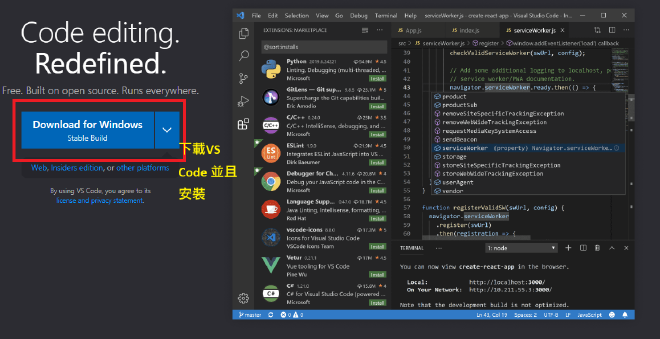
下載並安裝VS Code #
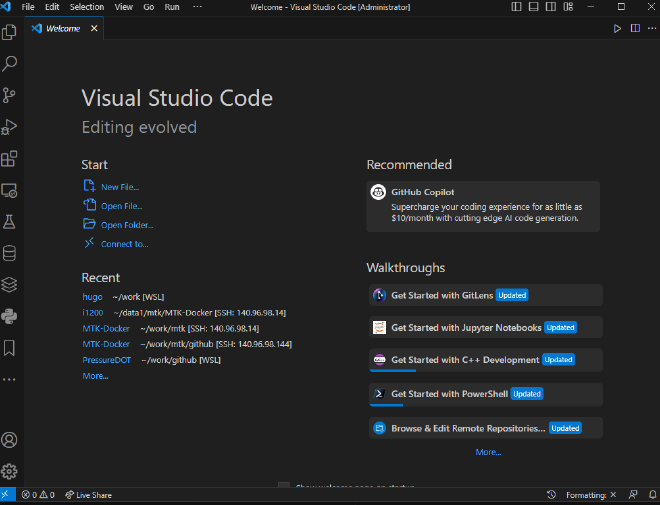
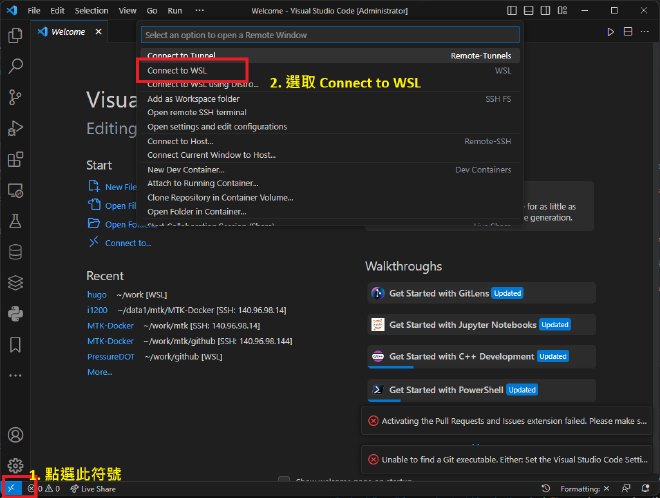
連結WSL #
有幾種方式連結WSL
-
點右下角連結
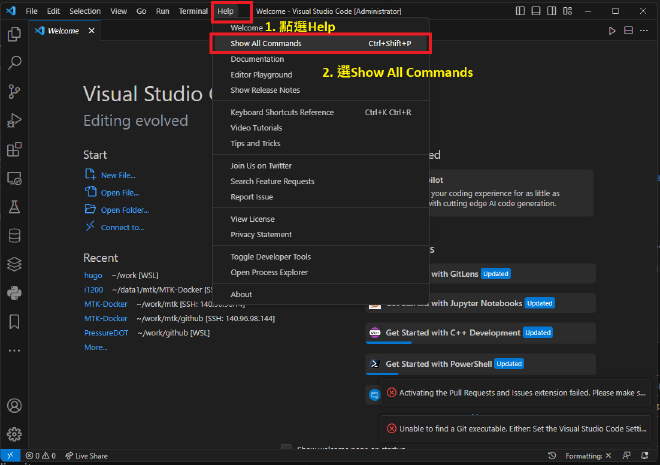
-
點選上方Help
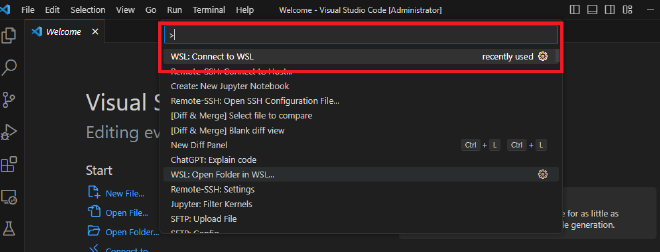
-
使用快速鍵 Press CTRL+Shift+P 開啟指令集
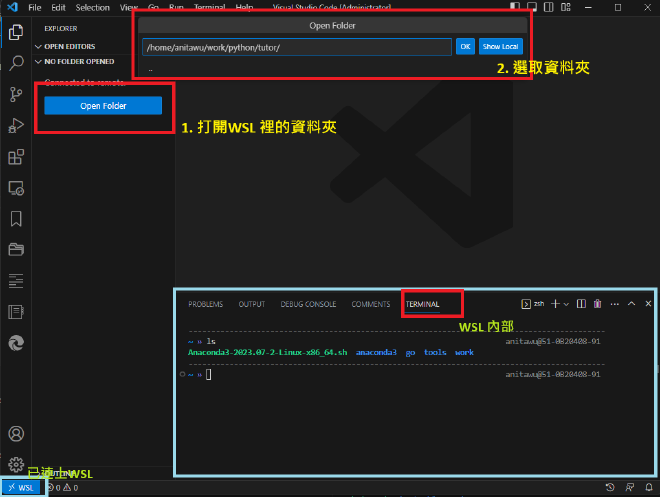
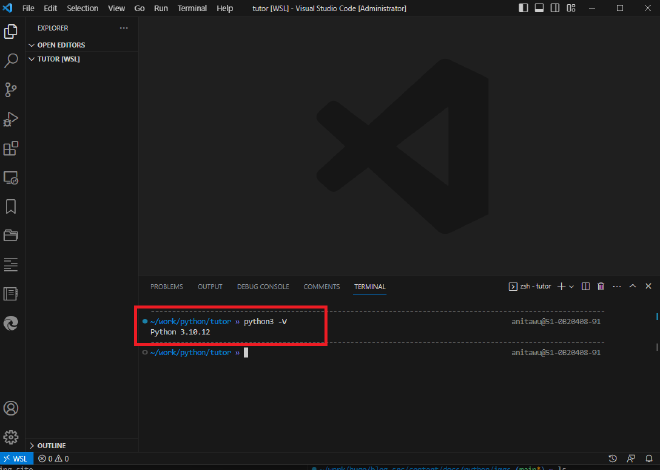
使用VS Code + WSL : Python 開發環境 #
- 建立 hello.py
### 在terminal 使用 code 指令,可直接使用VS Code 開啟新檔案。
~/work/python/tutor » code hello.py
- 使用 print 語法,輸出
Hello World字串。
print("hello world")
- 執行 hello.py
- 在 terminal 使用指令執行
~/work/python/tutor » python hello.py
hello world
- 使用VS Code GUI 介面

安裝 Virtual Environment #
維持乾淨的Python環境與乾淨的本機環境。
- 開發環境獨立,所依賴套件清楚。
- 升級不會影響其他環境原有的套件版本。
- 防止系統大雜燴所造成的管理困難以及產生可能的衝突。
安裝 Virtualenv 與 Virtualenvwrapper
pip3 install virtualenv virtualenvwrapper
初始化 Virtualenv 與 Virtualenvwrapper in ~/.bashrc or ~/.zshrc
export WORKON_HOME=$HOME/.virtualenvs
export VIRTUALENVWRAPPER_PYTHON=/usr/bin/python3
export VIRTUALENVWRAPPER_VIRTUALENV_ARGS=' -p /usr/bin/python3 '
export PROJECT_HOME=$HOME/work/python
source /usr/local/bin/virtualenvwrapper.sh
指令說明
## 查詢環境
lsvirtualenv
## 建立環境
mkvirtualenv (環境名稱)
## 複製環境
cpvirtualenv (原有環境) (新環境名稱)
## 刪除環境
rmvirtualenv (環境名稱)
## 使用環境
workon (環境名稱)
## 退出環境
deactivate
Reference